
A cracked windshield can disrupt your schedule, reduce visibility, and create safety concerns. I explain the timing clearly so you can plan with confidence.
Windshield replacement usually takes about one to two hours at a professional shop, including removal, installation, cleanup, and initial checks. The vehicle may need to remain parked longer while the adhesive reaches its safe drive-away strength.
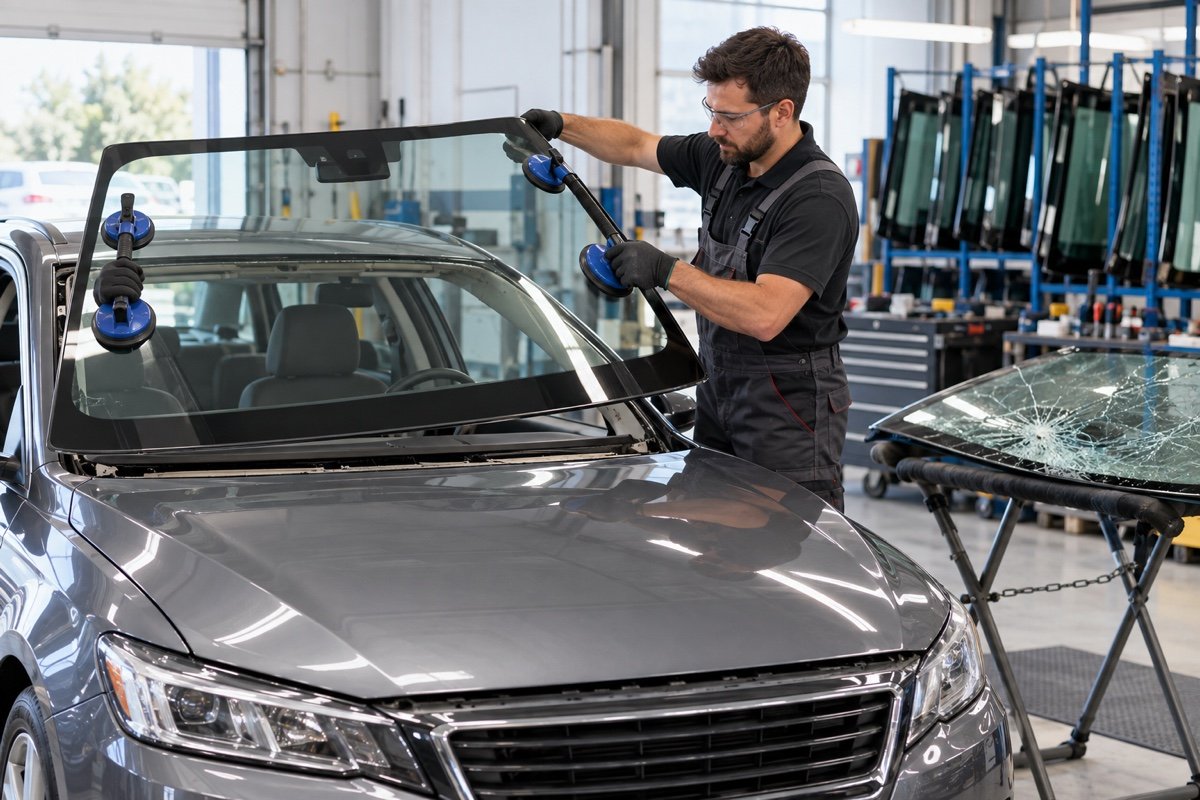
The actual installation can look quick, but a safe job includes preparation, correct glass positioning, adhesive curing, and electronic-system checks. I always separate the hands-on work from the time the vehicle must stay stationary.
What Factors Affect Windshield Replacement Time?
A simple appointment can become longer when the glass, vehicle, or weather creates extra requirements. Waiting until the last minute can make those delays more stressful.
Windshield replacement time depends on the vehicle model, glass availability, damage around the frame, adhesive requirements, weather, technician access, and the need for camera or sensor calibration.
Vehicle design and glass availability
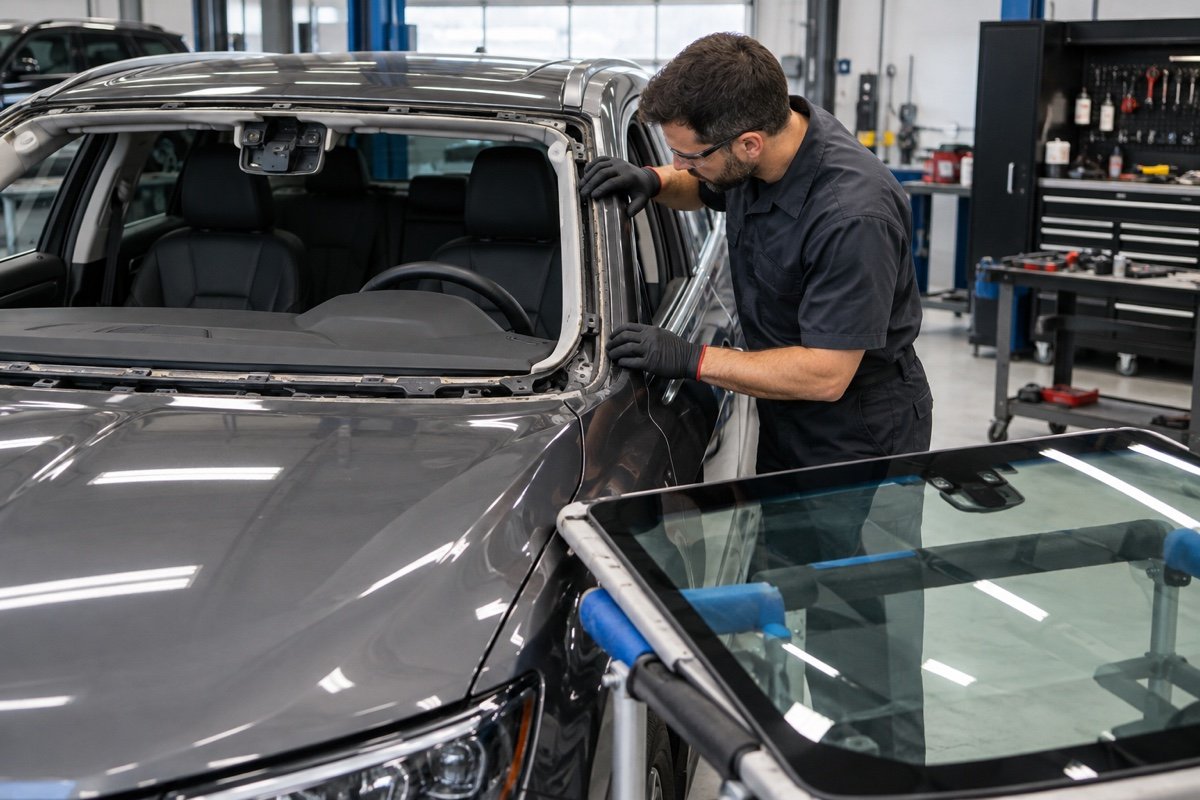
I first check the vehicle identification details and the exact windshield specification. Two vehicles that look similar can use different glass because of trim level, heating elements, acoustic layers, rain sensors, head-up display areas, or camera brackets. A shop may need to order the correct part instead of using the first glass that appears in a catalog. That ordering step can add a day or more, especially for uncommon models. The technician also needs access to the correct molding, clips, primer, and adhesive system. If an old molding is damaged or a camera bracket needs replacement, the appointment can take longer. Asking the shop to confirm the glass and features before the appointment helps prevent a second visit.
Damage around the pinchweld
The technician must inspect the area where the glass bonds to the body. If the old glass has broken into the adhesive, if rust is present, or if collision damage has changed the frame, the technician may need additional preparation. I never treat rust removal, corrosion protection, or frame correction as optional cosmetic work. A clean and sound bonding surface supports proper glass retention. The windshield glazing requirements1 also relate to visibility and occupant protection, so the replacement needs to match the vehicle’s safety design rather than simply fill the opening.
Weather, workspace, and adhesive
Temperature, humidity, wind, dust, and rain can affect the working conditions and the adhesive’s cure. A controlled indoor bay usually gives the technician more consistent conditions than an exposed driveway. The product instructions determine the safe drive-away time, so I do not promise that every vehicle can leave after the same number of minutes. The minimum drive-away time2 is the period the car should remain stationary after installation. It protects the bond while it gains enough strength for normal driving.
| Factor | What it may change | What I recommend |
|---|---|---|
| Glass availability | Appointment date | Confirm the exact part before booking |
| Vehicle features | Parts and calibration time | Mention cameras, sensors, heating, or head-up display |
| Frame condition | Preparation and repair time | Allow time for rust or collision inspection |
| Temperature and humidity | Adhesive cure time | Use an appropriate indoor workspace |
| ADAS equipment | Diagnostic and calibration time | Ask whether calibration is required |
Driver-assistance systems and sensors
Many newer vehicles place a forward camera near the rear-view mirror. That camera may support lane-keeping, automatic emergency braking, traffic-sign recognition, or adaptive functions. Removing and replacing the windshield can affect the camera’s position or its viewing path. The vehicle manufacturer’s service information decides whether static calibration, dynamic calibration, or a diagnostic check is required. For example, a manufacturer service bulletin archived by NHTSA requires camera inspection and calibration after windshield replacement on vehicles equipped with a stereo camera system.3 I ask customers about dashboard warnings and driver-assistance features before I estimate the total appointment time.
What Is the Process During a Windshield Replacement?
Most customers see only the final installation, but each stage protects the fit, seal, visibility, and safety performance of the vehicle.
The windshield replacement process normally includes vehicle inspection, interior protection, removal of the old glass, preparation of the bonding surface, adhesive application, precise glass placement, reinstallation of trim and sensors, curing, and final quality checks.
Inspection and preparation
I begin by confirming the vehicle, glass features, damage location, and customer concerns. I protect the dashboard, seats, paint, and nearby trim. Then I remove wiper arms, cowl panels, moldings, mirror components, and camera covers when the vehicle design requires it. I inspect the old glass and the pinchweld for hidden damage. The preparation stage matters because dirt, loose old adhesive, moisture, or corrosion can interfere with the new bond. I also check whether the glass includes a rain sensor, antenna, heating element, or camera mounting area. A careful inspection may add minutes, but it reduces the risk of an avoidable fit or function problem later.
Removing the old windshield
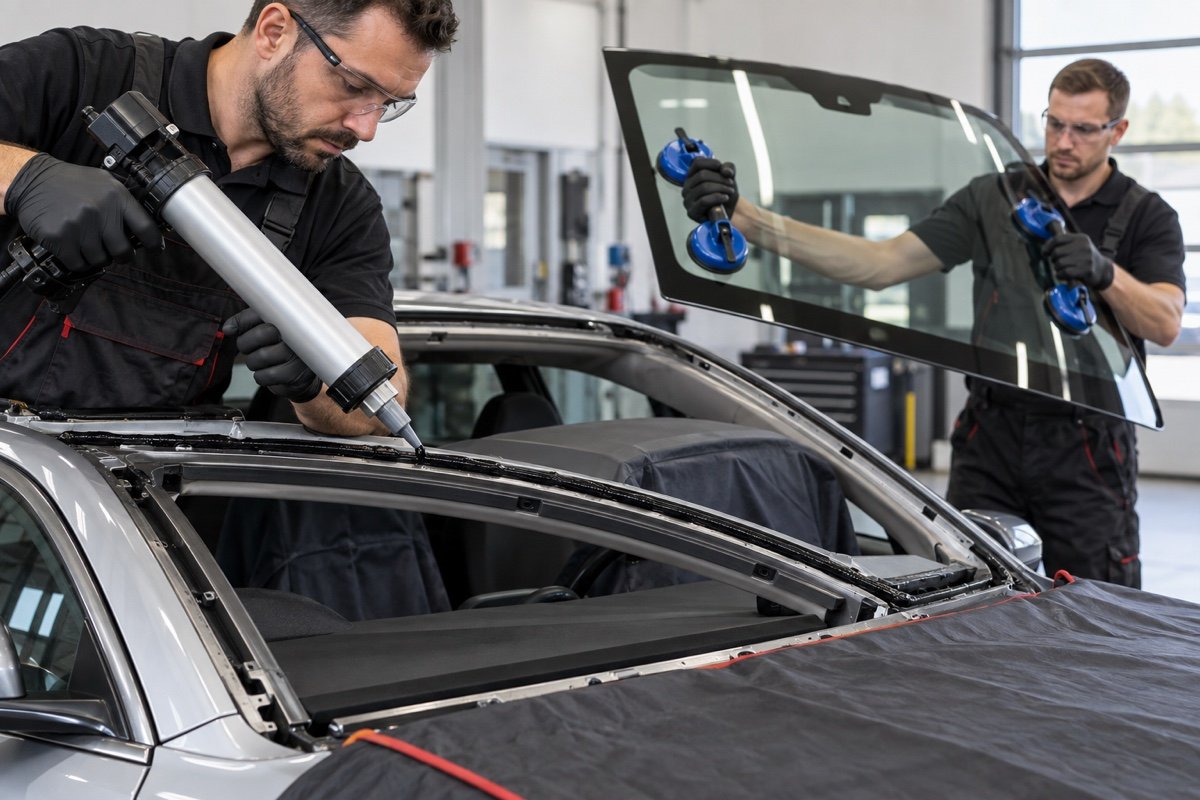
The technician cuts through the old adhesive with controlled tools and lifts the glass out safely. This step requires care because the dashboard, paint, trim, and body opening can be damaged by rushed cutting. After removal, the technician trims the remaining adhesive to the correct level and treats the bonding surface according to the adhesive manufacturer’s instructions. I do not recommend allowing an unqualified person to improvise with household sealant. The windshield is a structural part of the vehicle’s glass system, and the replacement material must suit the application. I also ask the technician to check for fragments, exposed metal, and damaged clips before the new glass is prepared. That check helps keep loose debris from remaining under the molding or affecting the seal. A short pause at this stage can prevent a much longer correction after the car leaves the shop.
Installing and aligning the new glass
The technician applies the approved adhesive bead and sets the new glass into the prepared opening. The glass must be centered, seated at the correct depth, and aligned with the roof, hood, moldings, and camera bracket. The technician then reinstalls trim, wiper arms, rear-view mirror parts, sensor connections, and any removed panels. The AGSC installation manual4 describes immediate glass placement after adhesive application and emphasizes that the vehicle should not be released before the published minimum drive-away time.
Curing, calibration, and final checks
After installation, I keep the vehicle stationary for the time specified for the adhesive system and current conditions. I check the seal, molding, glass alignment, wipers, washer spray, defroster area, mirror, and visible sensor connections. If the vehicle requires ADAS calibration, the technician completes the specified procedure and confirms that warning messages are cleared. I also explain when the customer can drive, what to avoid during the initial cure, and what warning signs should lead to a prompt return. A professional handoff is part of the replacement, not an extra courtesy. I want the customer to leave with a clearly stated drive-away time, a warranty contact, and a simple explanation of any remaining dashboard message. I also recommend that the customer judge the installation by the seal and electronic checks, not only by clean trim.
| Stage | Typical activity | Why it matters |
|---|---|---|
| Inspection | Confirm glass, frame, sensors, and trim | Prevents wrong-part and hidden-damage delays |
| Removal | Cut out old glass and protect the vehicle | Reduces damage to paint and interior |
| Preparation | Clean and treat the bonding surface | Supports a reliable seal |
| Installation | Apply adhesive and align new glass | Restores fit and visibility |
| Post-installation | Cure, calibrate, test, and explain | Protects safe vehicle use |
Windshield Replacement Precautions: What Should You Do After Installation?
Driving away too soon or treating fresh glass like fully cured glass can undermine a careful installation. I give customers simple aftercare instructions before they leave.
After windshield replacement, follow the shop’s safe drive-away time, avoid slamming doors and high-pressure car washes during the initial cure period, keep the glass and camera area clear, and return promptly if you notice leaks, wind noise, movement, or warning lights.

Follow the safe drive-away time
The shop should tell you exactly when the vehicle can be driven. That time depends on the adhesive, temperature, humidity, and installation conditions. I do not replace that instruction with a general internet number. If the technician says the vehicle must remain parked for longer than expected, I treat that delay as part of the safety procedure. The glass helps manage weather protection, visibility, and occupant protection, so the adhesive bond needs enough time to develop strength. I arrange transportation in advance when the appointment may extend beyond my original schedule. I also ask whether a calibration road test is required before the vehicle is returned.
Protect the fresh bond and surrounding trim
For the period stated by the installer, I avoid slamming doors, the trunk, or the liftgate because pressure changes can disturb a fresh seal. I avoid high-pressure car washes and aggressive cleaning around the edges. I leave any recommended windows partially open if the technician requests it, and I keep tape or molding supports in place until I receive permission to remove them. I do not place dashboard accessories against the glass or touch a camera housing. If rain arrives before the recommended cure period ends, I contact the shop for vehicle-specific guidance rather than guessing. I also park away from falling branches, construction dust, and tight spaces where someone could bump the fresh molding. These small precautions are easy to follow, and they give the adhesive and trim the quiet time they need to settle correctly.
Check visibility and electronic features
Before I begin normal driving, I inspect the glass from the driver’s seat. I look for distortion, dirt, a visible gap, loose molding, or a crack that was not present before. I test the wipers and washer spray. If the car has a rain sensor, head-up display, lane camera, or other windshield-mounted equipment, I confirm that the shop completed the required check or calibration. I never ignore a new warning message. A warning after replacement may indicate that the camera needs inspection, the connector is not secure, or calibration has not been completed. I pay special attention to the driver’s central field of view because even a small optical distortion can be distracting. I report unusual reflections, uneven edges, or a sensor that no longer responds as expected before I continue regular trips.
Contact the installer if something feels wrong
Small differences in trim appearance can be worth asking about, but water leaks, wind noise, glass movement, loose moldings, distorted vision, and persistent dashboard warnings need prompt attention. I take photographs and contact the installer while the appointment details are still available. I avoid applying extra sealant or attempting to press the glass into place myself. A reputable shop should explain the warranty, the safe drive-away time, and the correct follow-up process before the vehicle leaves. I keep the work order and any calibration report because those records make a follow-up conversation clearer. I also describe when the symptom appeared and whether it changes with speed, rain, or temperature. Clear details help the shop decide whether the issue involves the seal, molding, glass, or vehicle electronics.
Conclusion
Windshield replacement often takes one to two hours of shop work, but safe drive-away time and ADAS calibration can extend the appointment. I choose a qualified technician, confirm the correct glass, follow aftercare instructions, and never rush the final safety checks.
References
-
NHTSA describes windshield glazing requirements related to visibility and occupant protection, including the federal safety framework for motor-vehicle glazing. ↩
-
AGSC defines minimum drive-away time as the stationary period needed for the adhesive system to reach sufficient strength, with conditions such as weather affecting the timing. ↩
-
NHTSA service bulletin records a manufacturer procedure requiring inspection and calibration of a stereo camera system after windshield replacement on equipped vehicles. ↩
-
AGSC installation manual describes prompt glass placement after adhesive application and instructs installers to observe the adhesive manufacturer’s published drive-away time before releasing the vehicle. ↩